 Ing. Calogero Bono

You're about to connect sensors, actuators, or smart devices in an IoT project. The first challenge is making them talk to each other reliably without wasting data. The right protocol is already running on millions of embedded systems: MQTT. At Meteora Web, we use it every time we need to connect hardware to a lightweight, responsive backend. This guide covers what MQTT is, how it works, how to set up a broker, and how to avoid common mistakes.
Why is MQTT the most used protocol in industrial IoT?
MQTT (Message Queuing Telemetry Transport) is a publish/subscribe messaging protocol designed for low-bandwidth, high-latency networks and resource-constrained devices. Unlike HTTP, where clients constantly poll the server, MQTT devices publish messages to a topic, and subscribers receive them. A broker handles routing. This eliminates polling and drastically reduces network traffic. A sensor sending temperature every 5 minutes via HTTP consumes hundreds of bytes of headers; with MQTT it takes just a few bytes. That's why it's the de facto standard in smart home, industrial automation, precision agriculture, and logistics.
Real example: In a greenhouse monitoring project we built, 24 sensors connected to a Mosquitto broker on a Raspberry Pi. Each sensor published to topics like greenhouse/temperature/01. The backend subscribed and updated a database. Result: 90% bandwidth reduction compared to HTTP, and sensor batteries lasting 18 months instead of 4.
How does an MQTT broker work and which one to choose?
The broker is the heart of an MQTT network. It receives messages from publishers and forwards them to all subscribers of that topic. Topics are hierarchical: home/livingroom/temperature. Clients can use wildcards: home/+/temperature for all temperature sensors in every room, or home/# for everything. The broker also manages Quality of Service (QoS): 0 (at most once), 1 (at least once), 2 (exactly once). For critical applications use QoS 1 or 2; for statistical data QoS 0 is fine.
Recommended brokers for real environments:
- Eclipse Mosquitto — open source, lightweight, perfect for Linux servers. We use it on all our installations.
- EMQX — scalable, native clustering, good for networks with thousands of devices.
- HiveMQ — enterprise broker with MQTT 5 support, but paid.
- VerneMQ — open source alternative with good fault tolerance.
For starters, Mosquitto is the best choice: install with one command, configure in minutes.
Install and configure Mosquitto on Ubuntu/Debian
# Installation
sudo apt update
sudo apt install mosquitto mosquitto-clients

# Verify broker is running
sudo systemctl status mosquitto

# Edit configuration
sudo nano /etc/mosquitto/mosquitto.conf
Add these lines for a minimal working configuration (anonymous, local only):
listener 1883 0.0.0.0
allow_anonymous true
Warning: This is for testing only. Never expose an anonymous broker to the internet. Save and restart:
sudo systemctl restart mosquitto
Test with two terminals:
# Terminal 1 (subscriber)
mosquitto_sub -h localhost -t "test/topic"

# Terminal 2 (publisher)
mosquitto_pub -h localhost -t "test/topic" -m "Hello MQTT"
What are the most common MQTT security mistakes and how to avoid them?
The most frequent? Leaving anonymous access on publicly exposed brokers. We've seen enterprise sensor networks accessible to anyone because the broker listened on 0.0.0.0:1883 without credentials. An attacker can read all device data and even publish commands. Here are the minimum mandatory measures:
- Username and password: configure a password file with
mosquitto_passwd. - TLS/SSL: use certificates (Let's Encrypt or self-signed) to encrypt traffic. Clients connect on port 8883.
- Firewall: limit broker access to device IPs or internal network only.
- Topic ACLs: define who can publish to which topics and who can subscribe.
Mosquitto configuration with authentication and TLS
# Create password file (user: mqtt_user, password: StrongP@ss123)
sudo mosquitto_passwd -c /etc/mosquitto/passwd mqtt_user
Edit /etc/mosquitto/mosquitto.conf:
listener 8883
certfile /etc/mosquitto/certs/cert.pem
keyfile /etc/mosquitto/certs/key.pem

listener 1883 localhost

password_file /etc/mosquitto/passwd
allow_anonymous false
Restart Mosquitto. Now only authenticated clients can connect, and the exposed port (8883) is encrypted.
How to integrate MQTT with a PHP/Laravel or Python backend?
To receive messages in a web application, you have two options: use an MQTT client on the server or a bridge. At Meteora Web we prefer a Python daemon that subscribes and writes to a MySQL database, or directly in Laravel using packages like PhpMqtt/Client.
Example with PhpMqtt/Client in Laravel
composer require php-mqtt/client
use PhpMqtt\Client\MqttClient;
use PhpMqtt\Client\ConnectionSettings;

$server   = 'localhost';
$port     = 1883;
$clientId = 'laravel_mqtt_' . uniqid();

$mqtt = new MqttClient($server, $port, $clientId);

$connectionSettings = (new ConnectionSettings)
    ->setUsername('mqtt_user')
    ->setPassword('StrongP@ss123');

$mqtt->connect($connectionSettings, true);

$mqtt->subscribe('sensors/#', function ($topic, $message) {
    $data = json_decode($message, true);
    SensorReading::create([
        'topic' => $topic,
        'value' => $data['value'] ?? $message,
        'timestamp' => now(),
    ]);
}, 1);

$mqtt->loop(true);
Note: In production, run this script as a separate worker (e.g., Supervisor), not inside a PHP-FPM request.
Frequently asked questions about MQTT for SMEs
Is MQTT suitable for large-scale IoT projects?
Yes, if the broker is scalable. EMQX and VerneMQ support clustering and millions of simultaneous connections. For an SME with hundreds of sensors, a single Mosquitto on a 2 GB VPS is more than enough.
Can I use MQTT on ultra-low-power devices?
Absolutely. MQTT was designed for battery-powered sensors. With QoS 0 and short topics, payload is minimal. There are variants like MQTT-SN for non-TCP networks.
Which MQTT version should I use?
MQTT 3.1.1 is still the most widely used and stable. MQTT 5 adds features like session expiry and user properties, but is not always necessary.
What to do next
- Install Mosquitto on a Linux server (local or VPS) and verify communication with
mosquitto_pub/mosquitto_sub. - Secure the broker immediately: even for testing, add a user and password.
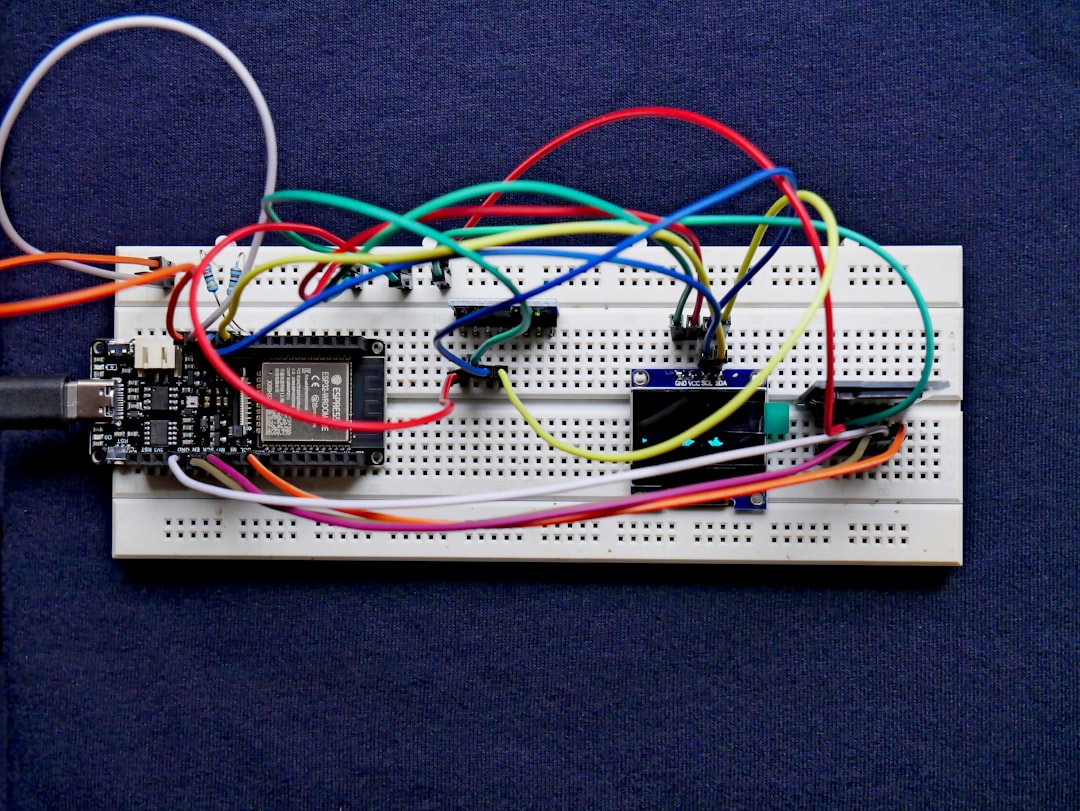
- Connect a real sensor: an ESP8266 or ESP32 with the PubSubClient library can publish real data.
- Integrate data into a web backend using the PHP package or a Python script.
- Check out our complete guide on IoT and programmable hardware for SMEs for the architectural context.
- Read the official MQTT specifications to deepen QoS and wildcards.