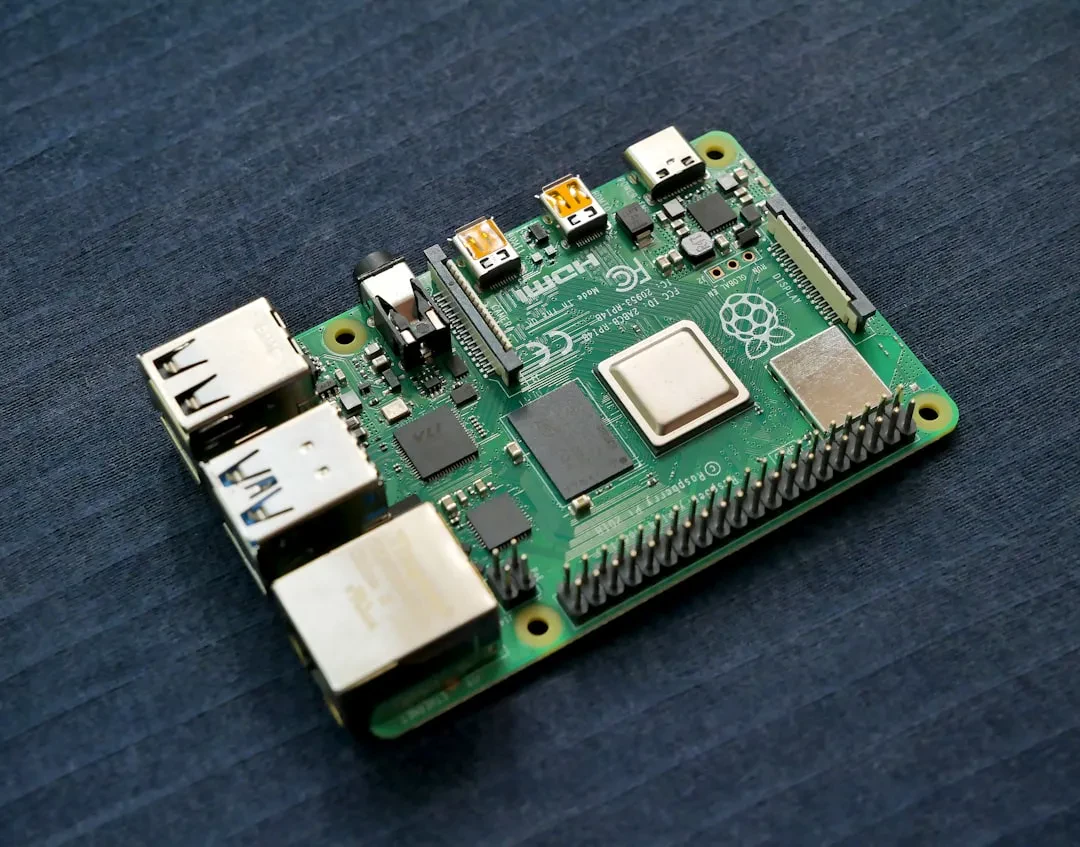
You just got a Raspberry Pi 5 and now you're staring at a bare board with no OS and a pile of cables. We get it. At Meteora Web we started with the first Raspberry Pi B+ back in 2014 to automate inventory management for a clothing store (yes, our client Hibrido). Today, with the Pi 5, the possibilities for an SME are huge: server, kiosk, industrial control, digital signage. But without proper setup you're stuck. Let's turn that board into a productive tool, from OS selection to a working project.
Which operating system should you choose for Raspberry Pi 5?
The Raspberry Pi 5 is more powerful than its predecessors (quad-core Cortex-A76 at 2.4 GHz, VideoCore VII GPU), but the right OS depends on your needs. We, seasoned Linux tinkerers, recommend Raspberry Pi OS (Bookworm) for 90% of SME projects. Why? Perfect hardware compatibility (GPU, GPIO, CSI/DSI), updated repositories, long-term support. Alternatives: Ubuntu Server 24.04 LTS for containers or enterprise apps, DietPi for ultra-light setups (e.g., just Node-RED). But for beginners, Raspberry Pi OS is the safe choice.
Sponsored Protocol
Raspberry Pi OS: 32-bit vs 64-bit
The Pi 5 has an ARMv8 64-bit CPU. Use the 64-bit version. 32-bit limits per-process RAM and performance with modern applications. On a Pi 5 with 8 GB of RAM, 64-bit is mandatory if you plan to use Docker, databases, or web apps. We saw it firsthand on a digital signage project for a chain of shops in Sicily: moving from 32 to 64 bit halved rendering times.
How to install Raspberry Pi OS on the SD card?
Forget manual ISO downloads and dd commands. Use the official Raspberry Pi Imager. Download from raspberrypi.com/software and install on your PC. Then:
- Insert a microSD card (at least 32 GB, A2 class for performance).
- Open Imager, click "Choose Device" → Raspberry Pi 5.
- Select "Raspberry Pi OS (64-bit)".
- Click the gear icon (bottom right) to enable remote access: set username, password, enable SSH. If you want Wi-Fi instead of Ethernet, enter network credentials. This saves you from needing a monitor and keyboard.
- Write the card. Wait 5-10 minutes.
Important: If you don't configure SSH before first boot, you'll need a monitor and keyboard to enable it later. We learned that the hard way on a headless server in a client's closet.
Sponsored Protocol
First boot and remote connection
# Insert the microSD into Pi 5, connect power (USB-C 5V/5A recommended).
# If SSH is configured, connect Pi 5 to the same network as your PC.
# Find the IP: check your router or use a scanner (e.g., nmap -sn 192.168.1.0/24).
# Connect via SSH:
ssh username@pi-ip
Once inside, update everything:
sudo apt update && sudo apt full-upgrade -y
sudo rpi-eeprom-update -a  # Update Pi 5 firmware
sudo reboot
How to configure remote access with SSH and VNC?
SSH is essential for headless operation. But if you want the graphical desktop? Enable the built-in VNC server:
sudo raspi-config
# → Interfacing Options → VNC → Enable
sudo systemctl enable vncserver
Then from your PC use a VNC client (RealVNC, TigerVNC) pointing to the Pi's IP. We have a client using Pi 5 as a terminal for their management software: with VNC, the staff works from tablets. Security note: use SSH on a non-standard port and key authentication, never simple passwords. We see unprotected servers every day.
Sponsored Protocol
What complete projects can you build with Raspberry Pi 5?
Here are three real-world use cases we've deployed for clients of your size.
1. Web server and internal intranet
Install Nginx, PHP and MariaDB for an internal website or a business app. On Pi 5 with 8 GB RAM it handles 20-30 concurrent users on simple PHP pages. Great for a small company that wants to avoid cloud fees. Example: leave management portal or order tracking.
sudo apt install nginx mariadb-server php-fpm php-mysql -y
2. Touchscreen kiosk
Connect the official Raspberry Pi 5 display (or an HDMI touchscreen) and configure kiosk mode in Chromium. Perfect for digital menus, interactive product presentations in showrooms. We installed one in a clothing store to showcase new collections — the client saved on dedicated monitor rental costs.
# Install a browser and launch in kiosk mode
sudo apt install chromium-browser -y
# Add to ~/.config/lxsession/LXDE-pi/autostart:
@chromium-browser --kiosk --noerrdialogs --disable-infobars http://your-site
3. Temperature and humidity sensor with Node-RED
With a DHT22 sensor connected to GPIO, Node-RED sends data to a database or dashboard. Useful for monitoring cold rooms, warehouses, or offices. The Pi 5 GPIO runs at 3.3V — check compatibility. Detailed wiring and code on our IoT pillar article.
Sponsored Protocol
# Simple script to read DHT22 (requires Adafruit_DHT)
import Adafruit_DHT
sensor = Adafruit_DHT.DHT22
pin = 4
humidity, temperature = Adafruit_DHT.read_retry(sensor, pin)
print(f"Temp: {temperature:.1f}°C, Humidity: {humidity:.1f}%")
How much does a basic Raspberry Pi 5 project cost?
We always ask: what's the return? An SME building an intranet server with Pi 5 spends about €80-100 (board, power supply, SD card, case). Zero monthly fees. The same service on cloud costs €10-15/month. In 8-10 months the hardware pays for itself. We calculate TCO every time. If the project is experimental, the Pi lets you fail fast without burning budget.
Common mistakes to avoid when setting up Raspberry Pi 5
- Underpowered power supply. Pi 5 needs 5V/5A. Use the official power supply or a quality USB-C PD. With 3A supplies you'll see random reboots.
- Slow SD card. Use A1 or A2 class. Avoid old SD cards; Pi 5 suffers from I/O on V30. We use Samsung EVO Plus 128 GB.
- Overheating. Pi 5 hits 80°C under load. Add a heatsink and, if needed, a fan. In our kiosk project, without cooling the system would freeze every hour.
- Ignoring backups. Configure rsync or a cron job to a NAS. We keep repeating: security in Italian SMEs is systematically undervalued.
What to do next
- Download Raspberry Pi Imager and prepare your microSD with 64-bit OS and SSH enabled.
- Connect the Pi 5 to your network, boot, and SSH in. Run the update commands.
- Pick your first project: web server, kiosk, or sensor. Follow the examples above.
- Calculate the hardware budget and compare it to monthly cloud savings. If you have questions, get in touch.
We at Meteora Web work from Sicily, across Italy. We believe SMEs in the South deserve the same technology as those in Milan. The Raspberry Pi 5 is a tool to bridge the digital divide. Let us know if you need help putting it into production.